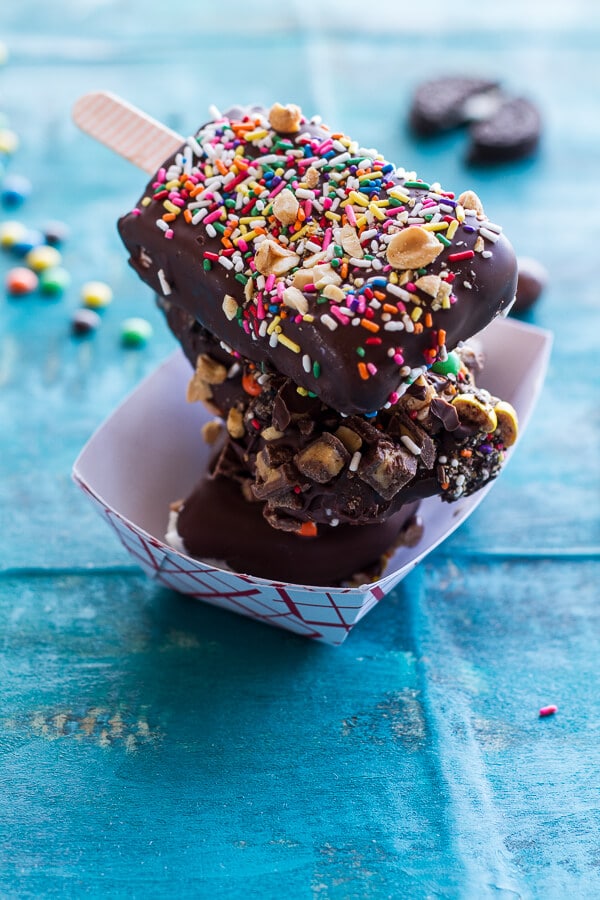
(Build Your Own) Candied Up Balboa Bars.
Deciding on a name for these was the hardest thing ever.
They are just so good and I am just so excited about them that I had not a clue how to convey the deliciousness in just one name.
Welcome to the problems of my brain. Life’s probably pretty good if these are my problems, huh?
Anyway, the bottom line is that these bars are definitely the type of bar I wish I got to eat growing up!
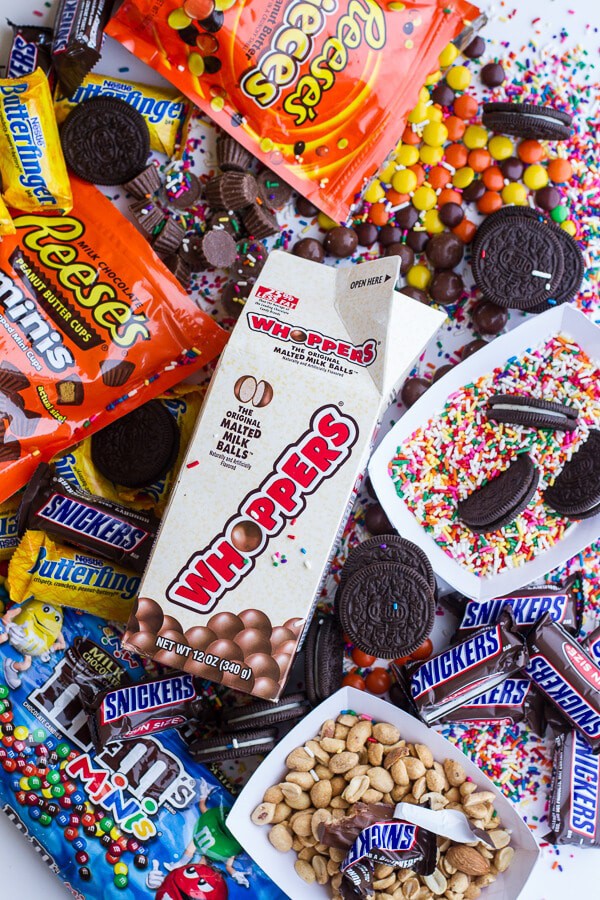
I do not really eat any candy now, but for some reason I had a burning desire to basically make the trashiest, candy-loaded ice cream bar out there.
Granted, the candy is only on the outside of the bar, so you can choose how naughty you would like to make them, but I wanted the inside of these bar to be a traditional creamy Balboa bar….
Well, I was going for traditional until I added the swirl of fudge sauce to the ice cream. Again, I just couldn’t help myself.
For me summer is all about living every day like you are a kid again, and with these bars I just had way, way too much fun!
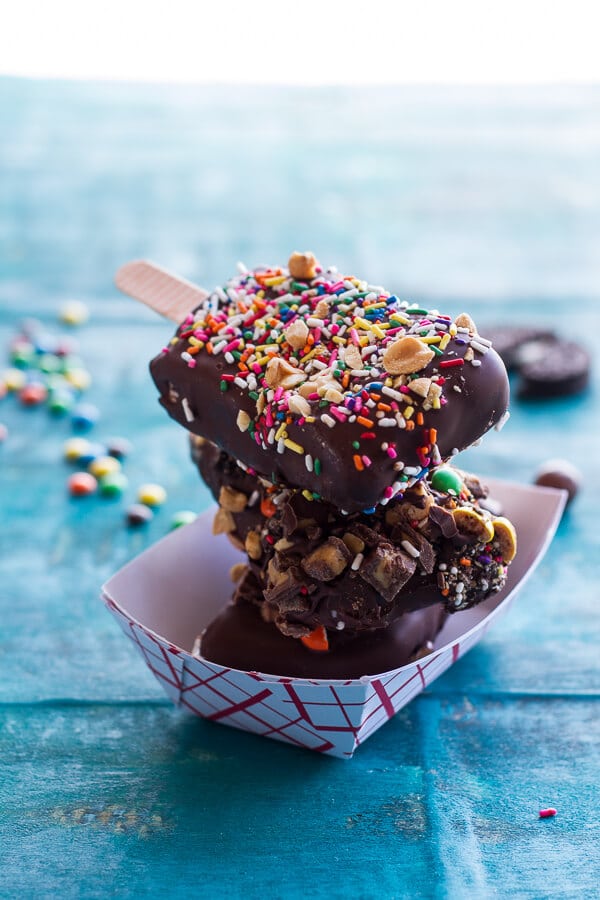
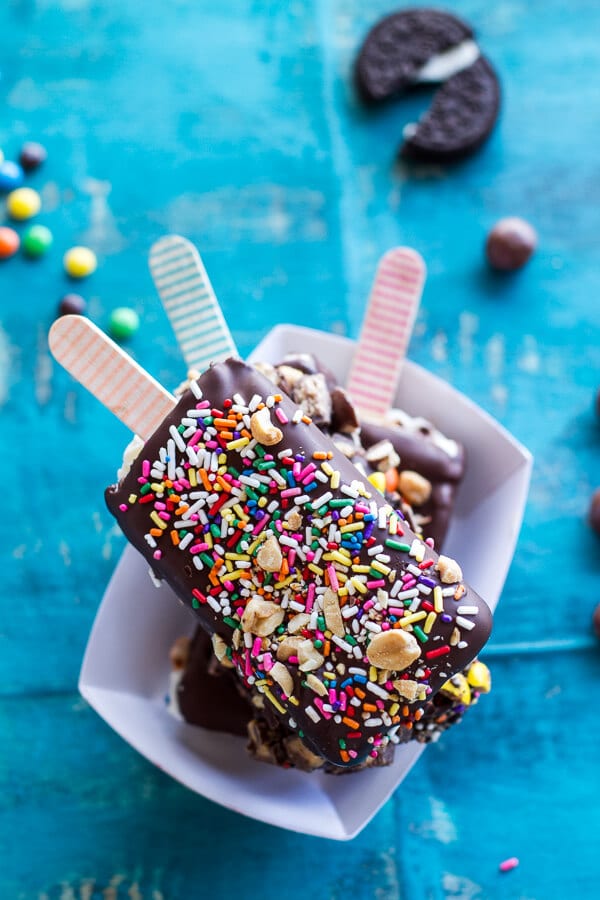
For those of you wondering what a Balboa bar is, it is just a vanilla ice cream bar that has been dipped in a chocolate shell before eating. It’s then either rolled in sprinkles, chopped toffee or chopped peanuts. The most common are sprinkles I think.
So simple, yet so delicious.
From what I read, Balboa bars were originally created in Laguna Beach, California.
Makes sense, these bars are totally a bar for the beach or the board walk.
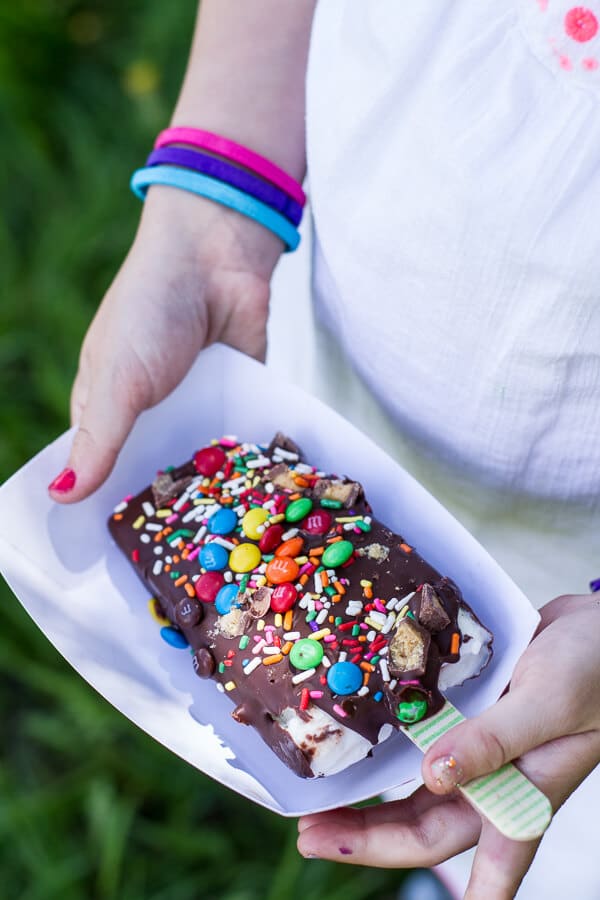
As you know, I live nowhere near any beaches – nor any board walks, so the long summer mountain grass had to do for Asher, her two little friends and I.
Or really just for me, the girls were way more interested in running around than trying to help me.

You would think that the promise of an ice cream bar would really motivate them to help me. Nope, they must have known that no matter what they were all going to get one…. and probably some candy too.
Spoiled? Ah yeah.
I guess I got a few photos, so I was happy too. I really couldn’t blame them.
All they kept saying was, “can we just eat them already, they looks soo good”.
I think it was a little torturous for them, but I promise it did not last long. Then they got their bars and left me with the mess.
Typical.
Ok, but let’s just talk about how fun these bars really are.
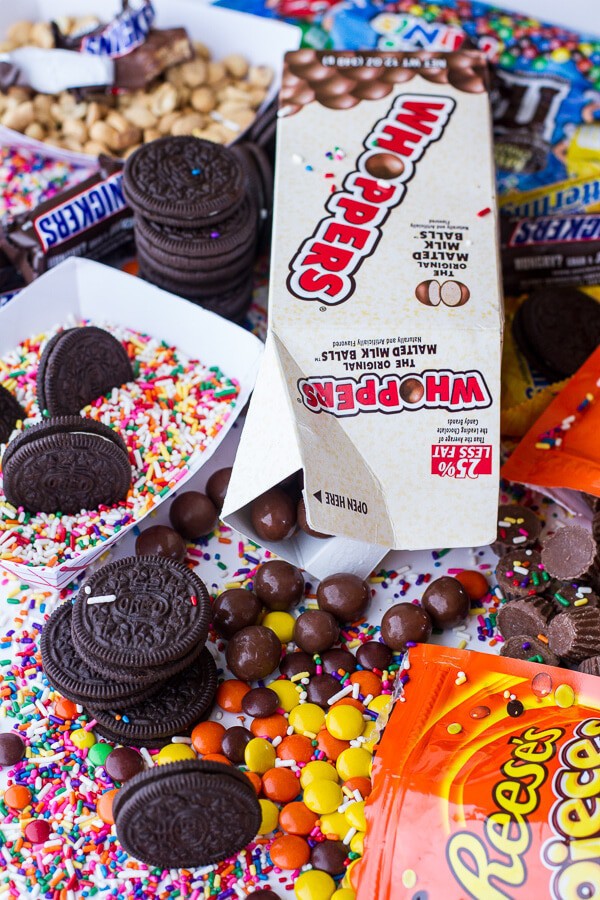
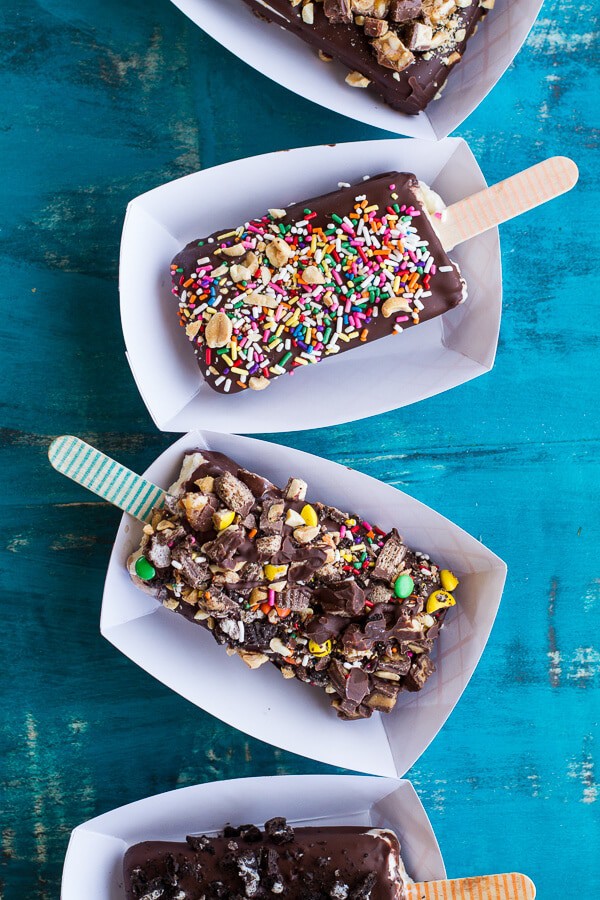
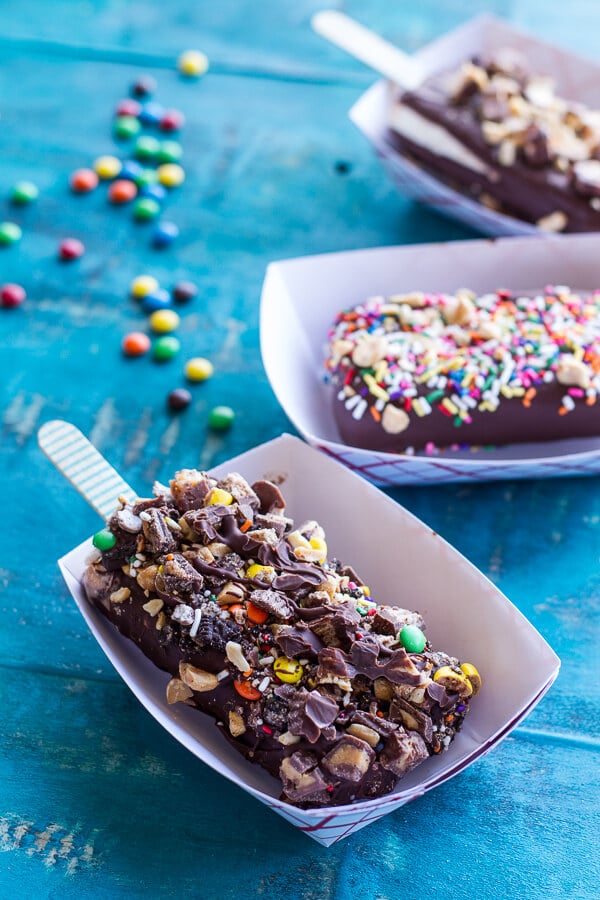
There are so many different combos of toppings that you can coat the bars in. And these bars would make for the perfect party desserts. You could have a “Build your own Balboa Bars” station. Just set out all the toppings and a big bowl of the chocolate shell for dipping. Then let everyone dip in the chocolate and then sprinkle on their favorite candies.
It is so perfect.
Especially for the 4th of July, which is exactly a week from today! So really, these are a must make if you are hosting a 4th of July party this year, or really any summer party. So fun!
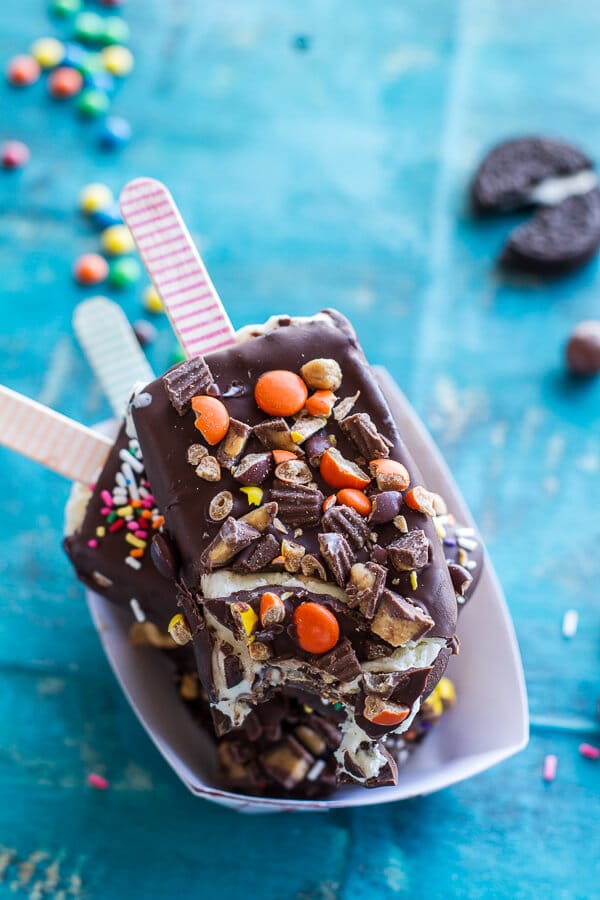
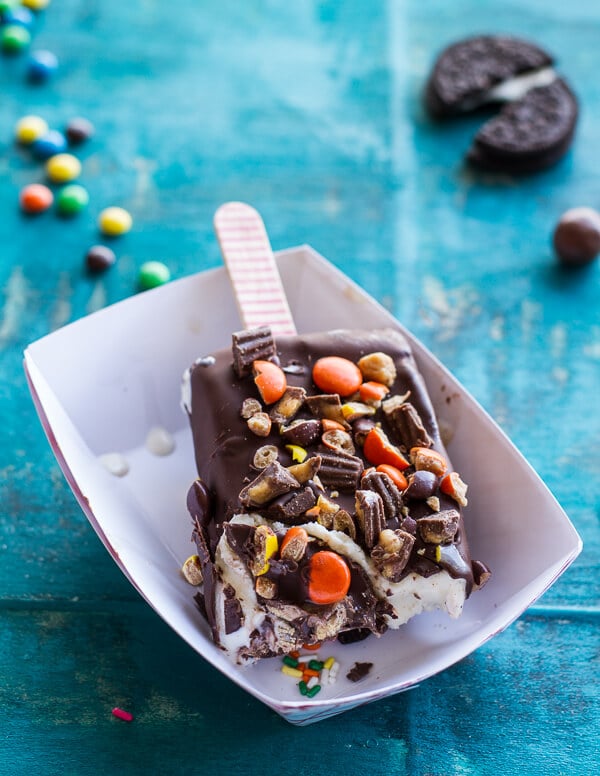
My favorite combo was Reese’s Pieces + chopped Mini Reese’s. Peanut butter + chocolate lover all the way!!
Other favorite combos:
Chopped Snickers + Chopped Toffee + Chopped Peanuts
Kit Kat’s + Mini M&M’s
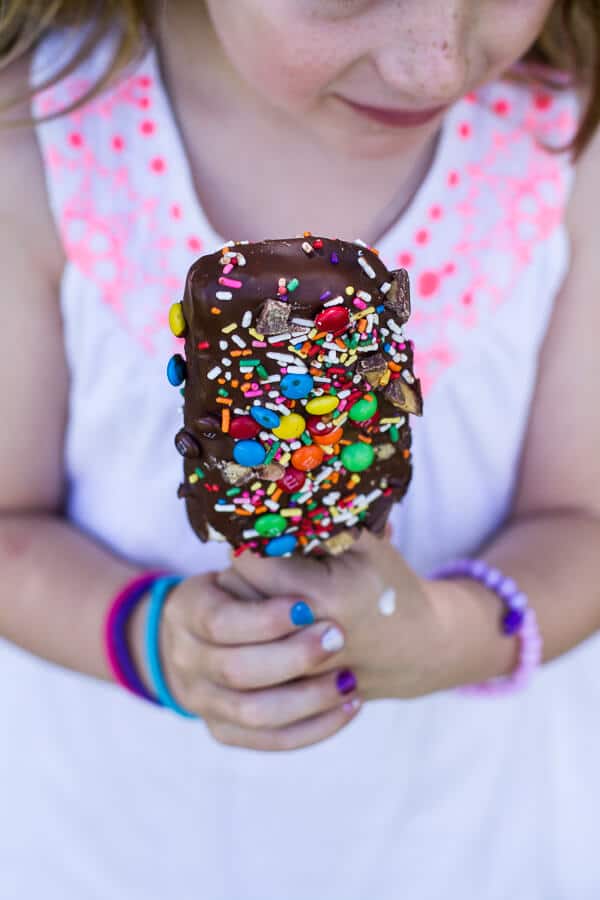
The Everything Bar: Snickers, Reese, Reese’s pieces, peanuts, toffee, sprinkles, Butterfingers, Whoppers, mini M&M’s & Oreos
Sprinkles
Sprinkles + Peanuts
Crushed Oreo’s
Chocolate Chip Cookie Crumbs + Crumbles Cookie Dough (YUM!)
The Combos are endless, and it is so fun to let everyone build their own. I do have to advise you though, you might want to make a double batch. These bars were devoured at lightning speed. Even the leftover bar in the freezer was scarfed down faster than Lightning McQueen himself could have!
Told you, fast!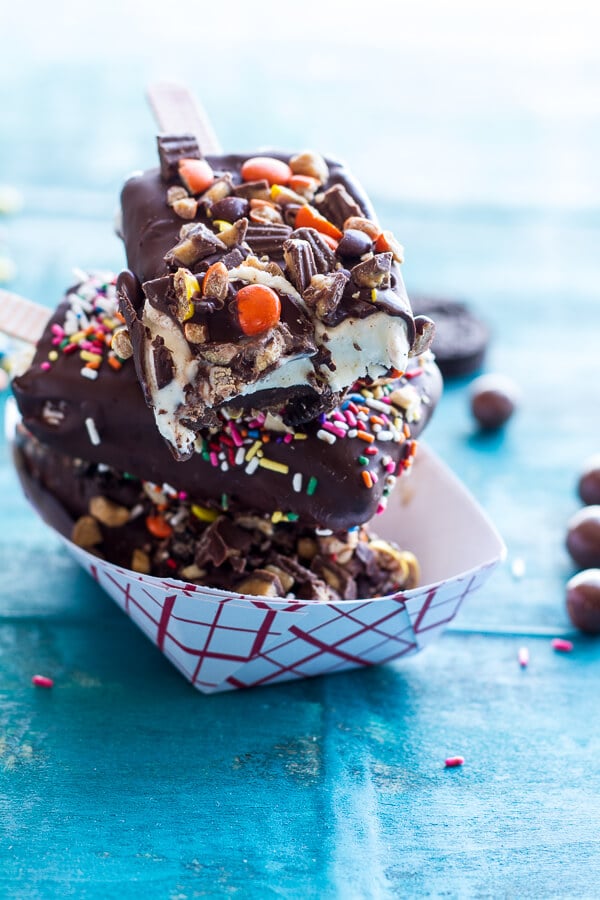
Nutritional information is only an estimate. The accuracy of the nutritional information for any recipe on this site is not guaranteed.
Every Kids Dream LOADED Balboa Bars…the best around.
By halfbakedharvest
Course: Dessert
Cuisine: American
Keyword: chocolate bar
Granted, the candy is only on the outside of the bar, so you can choose how naughty you would like to make them, but I wanted the inside of these bar to be a traditional creamy Balboa bar....
Ingredients
- 1.75 quarts vanilla bean ice cream
- 1/2 cup of [your favorite hot fudge sauce | https://dev.halfbakedharvest.com/hot-fudge-chocolate-chip-cookie-cookie-dough-ice-cream-sandwich/] slightly warm
- 20 ounces good quality milk or semi-sweet chocolate chopped
- 4 tablespoons coconut oil
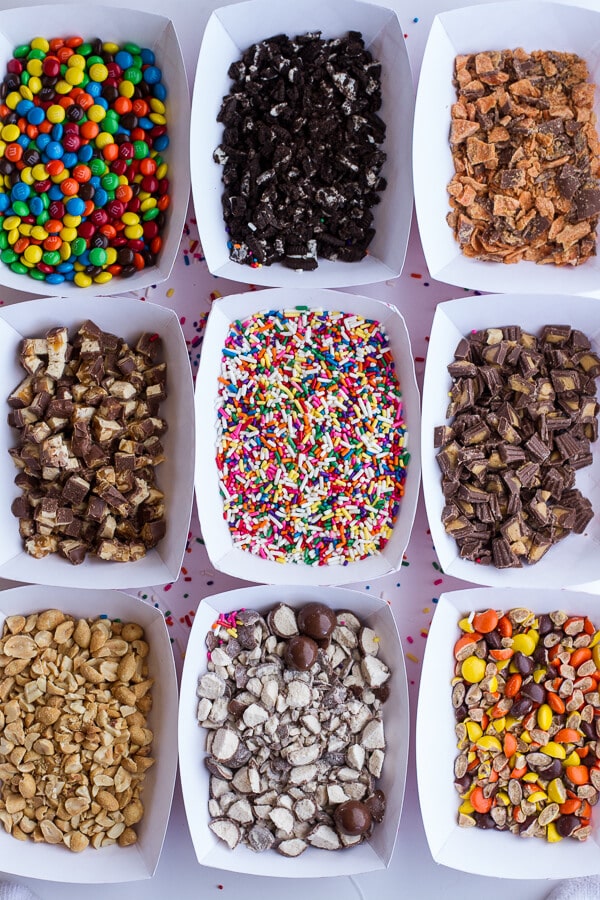
Toppings!!
- crushed Oreos
- crushed Butterfingers
- finely chopped Snickers
- M mini &M's
- Reese's or Reese's mini's both chopped
- pieces Reese's
- bite size or regular Kit Kat bars both chopped
- crushed Whoppers Chocolate Malt Balls
- chopped peanuts
- toffee bits
- SPRINKLES!
- [Crumbled Chocolate Chip Cookies | https://dev.halfbakedharvest.com/peanut-butter-stuffed-chocolate-covered-pretzel-cookies-n-cream/] homemade or store bought
- cups [Crumbled Chocolate Chip Cookie Dough | https://dev.halfbakedharvest.com/giant-chocolate-chip-cookie-cookie-dough-peanut-butter-/] homemade or store bought
Instructions
-
Allow the ice cream to sit on on the counter 10-15 minutes, but no longer or you will get ice crystals in your bars.
-
Line a 9x13 inch baking dish with plastic wrap allowing the plastic wrap to hang over the sides of the baking dish. Drizzle the bottom of the baking dish with a little fudge sauce and then add half the the softened ice cream in dollops. Drizzle on another layer of fudge sauce and then add the remaining softened ice cream. Use your hands or the back of a spoon to press the ice cream evenly into the pan. If you have any fudge sauce left drizzle it over the ice cream. Don't worry if the fudge sauce and ice cream mix a little, it is no big deal.
-
Fold the overhang plastic wrap over the ice cream. Cover the pan tightly with additional plastic wrap. Place in the freezer for 2 hours or up to overnight to harden the ice cream. I found it was easiest cutting the bars after they sat in the freezer over night.
-
Once the bars are completely frozen line a rimmed baking sheet with plastic wrap or parchment paper (I used plastic wrap).
-
Remove the pan from the freezer and peel the plastic wrap off the top of the bars. Use a sharp knife to cut the ice cream into 10 rectangles (5 on the bottom half and 5 on the top half). Now, using the plastic wrap overhang, lift the entire slab of ice cream out of the pan. Use a metal spatula to separate the squares and transfer them to the prepared baking sheet, spacing them at least 2 inches apart. Insert a Popsicle stick halfway into one side of each square. Cover the baking sheet with plastic wrap and return to the freezer for at least 2 hours or overnight.
-
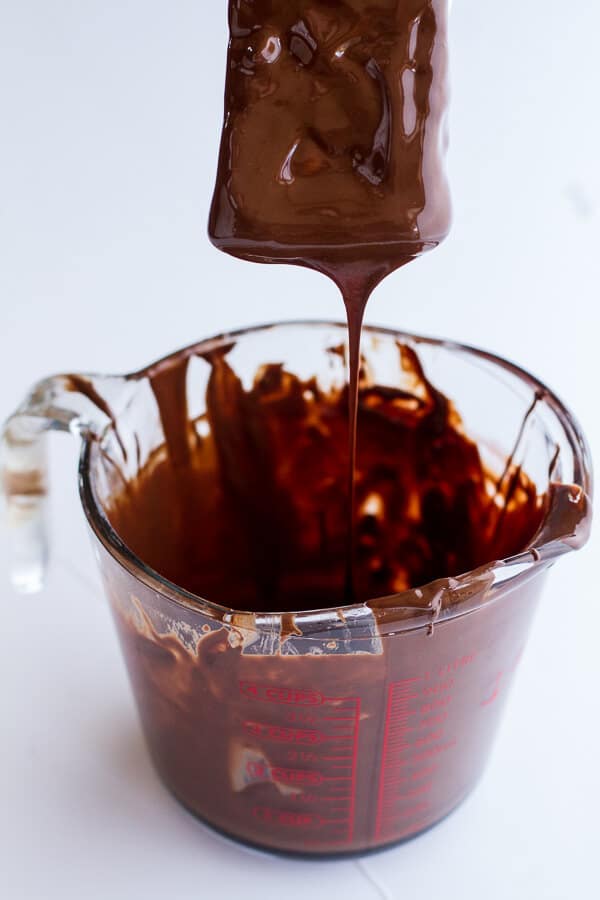
20 minutes before you are ready to dip you bars make the chocolate coating. Combine chopped chocolate and coconut oil in a medium sauce pan over medium heat. Stir frequently until chocolate is almost melted. Remove from heat and stir until completely melted and smooth. Allow to cool 15-20 minutes before dipping the bars.
-
Meanwhile prepare your toppings by placing the chopped candies and sprinkles on plates or bowls. I find shallow bowls work best for this.
-
When you are ready to dip the bars remove one bar at time from the freezer (or at least one bar per person if you are doing this as a "build or own bar" thing). Working quickly, hold the bar by the popsicle stick and dip it into the chocolate until the ice cream is completely covered. Let any excess chocolate drip back into the bowl. Quickly sprinkle on your desired toppings. You have to do this immediately or the chocolate will harden and the toppings will not stick. Eat right away or return the balboa bar to the baking sheet and place in the freezer. Continue dipping the remaining bars.
-
Store the bars wrapped in plastic wrap in the freezer until they have all been eaten, which most likely will not take long.
Have a great weekend and make some Balboa bars too!


ARE THESE REAL? These are incredddible! I think my favorite topping would be something like yours (chocolate and pb for life yo’) with the 10000 degrees that FL has been lately…I need these for breakfast. Pinned! Happy weekend!
Thanks so much, Taylor!!
AH-MAZING!!! Would love to try these- In a red-white-blue topping theme for the 4th-You outdid yourself on these T 🙂
Oh that would be so fun!! Thanks Julia!
Every kid’s dream?! This is every man’s dream. I know my two girls love ice cream but if there was only one of these on the table I’d have a hard time sharing.
Haha! Thanks!
These look so good, I don’t blame Asher and her friends for not wanting to wait…I don’t think I could either…I love chocolate and mint so I’m thinking of mini peppermint patties to top mine…yum!!
Thanks!! 🙂
OH MY!!!!! Ice cream is my weakness. I bet coconut would be yummy too.
Oh why did not not think to add toasted coconut? YUM!
These are amazing looking. I can’t wait to make them! Pinned!
Thanks so much, Bri!
Oh my god. Is this real life. Those look amazing! I want all of them in my mouth, and NOW. 🙂
Thank you!
What a fun summer treat!
These just look like FUN!!!!
Thanks Kathy!
Tieghan! You’re naughty. These are AWESOME!!
Thanks so much, Brenda!
You trashed these up in the best way. I’m heading to the bulk store to whip up a batch of these!
Thanks! 🙂
I’d definitely top mine with chopped reeses or reeses pieces
Thanks so much, Erin!
Yep, definitely Balboa Island, at a place called Dad’s. Yours look pretty close to the original! 🙂
pics: http://is.gd/OvsqWu
Thanks!! 🙂
They were actually created on Balboa Island in Newport Beach, CA. These look so good!!!
Oh nice! Thanks!
this is just perfect!!!
Thanks so much!!
Such a great idea for a summer party Tieghan!
http://youtube.com/addalittlefood
Thank you!
Your photos of the piles and piles of candy are incredible! It’s like 12 year old Liz’s dream!
Thanks Liz!!
What a fun thing to do with the kids, these are awesome!!! Great pics as always Tieghan!
Thanks so much, Matt! Hope you guys had a great weekend!
Oh my gosh … that is awesome! Chopped Rolos for me! No, mini M&Ms! Wait, I got it: two-sided Balboa bars. Rolos on one, M&Ms on the other – some of each in every bite!
Haha! I like the way you think! Thanks!
Tieghan!!!! I think the only word to describe my reaction to these is OBSESSED. No matter how much I clean up my diet, all things ice cream will always be a weakness — particularly if it involves crunchy, nutty mix-ins or toppings. As such, theeeeeeese are more or less my kryptonite. And the photos, as usual, are super gorgeous!
Hehe! 🙂
Thank you so much!
Oh glorious toppings!! It always gets me. Always 😀
I know, I know! Thanks!
They’re amazing! Thanks! I love your blog:)
Thank you so much!! 🙂
I have to try this with my nieces. Your posts are always perfect!
Tonie
http://www.toniegirl.com
Thank you! Hope your nieces love these!
Every picture is a party! These look like every summer dream I had as a kid come to life 🙂 Can’t wait until the weather warms up again to make these. There aren’t any kids in our family, but we’re all still kids at heart so that works out perfectly. Thanks Tieghan 🙂
Thanks Amy!! Oh and it is fine to be a kid a heart!
These bars are so, so fun. Love the candy coating!
These look so amazing! Looking at your photos makes me feel like a kid in a candy store – quite literally 🙂
Ha! Thanks!
Naming them may have been the hardest thing ever for you, but for me…not eating them all at one time would be the hardest thing! Looks fabulous!
Oh mylanta, these bars are incredible! 🙂 I would want everything on mine!! I don’t blame the girls for impatiently waiting for these! Pinned!
Thanks so much, Jocelyn! Happy 4th of July to you and your family!
Tieghan these are so fabulous! Holy heck. I want to come live with you. 🙂
Thanks Dorothy!! I think the two of us in one house would be amazing… and horrible for our health. HA!
I had to click to find out what Balboa bars were and now I know–my new favorite thing ever!
THANK YOU!!
Wowwwww
Thank you!